I hadn’t made animated transitions (or stinger transitions) since 2017, when the Smash tournaments scene in the local venue, Game Hunterz, was at its peak. Recently, I started to use Natron to make this kind of animations (avoiding the need to obtain an After Effects license or to have anything to do with Adobe). Also there is no further need to install a plugin in OBS to use them, since they are now natively supported.
Creating our animation in Natron
Natron1 is a node based compositing software, like Nuke or Fusion, in contrast with the layer based model of After Effects. Although the difference may feel overwhelming at first, it feels less and less heavy after some practice.
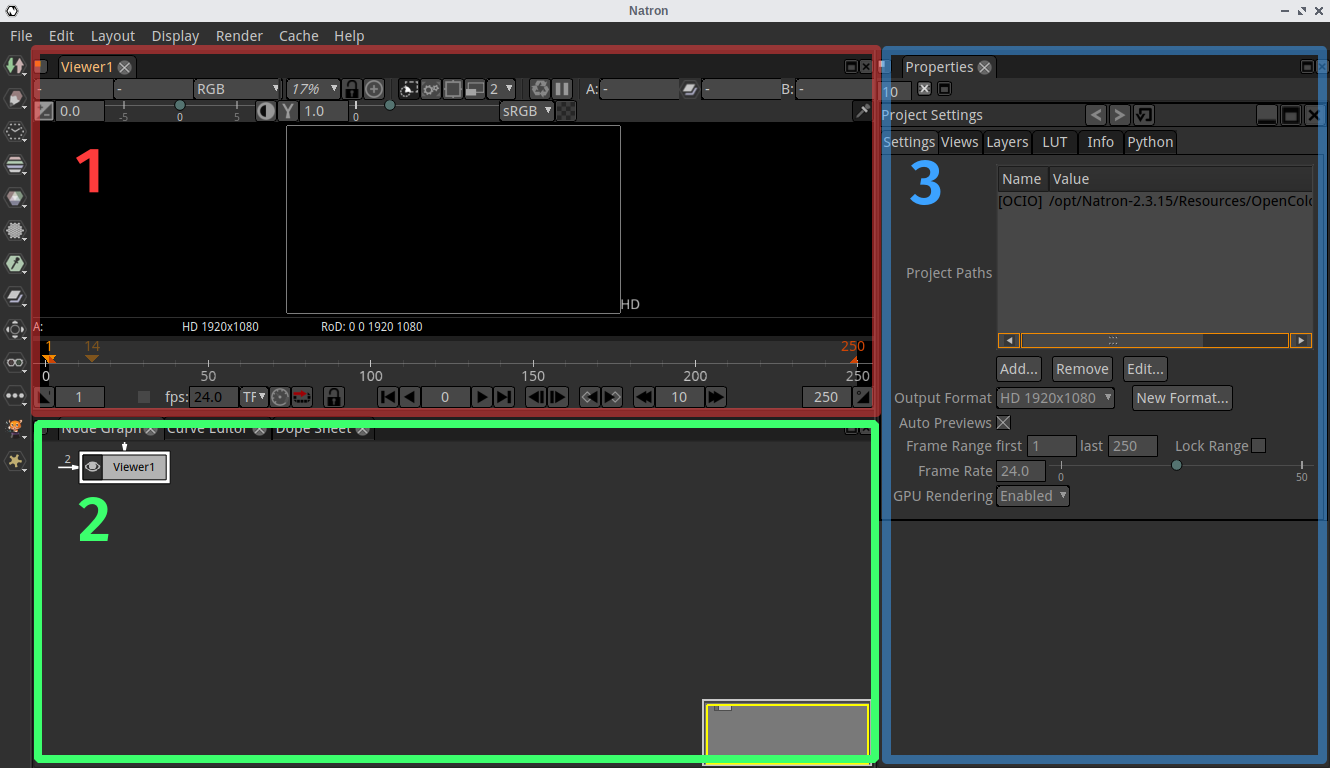
Natron interface is divided into three main areas:
- Viewer: Contains all of the visualization controls for our project, including playback.
- Nodes: Here we will connect our nodes, which correspond to the various operations we will perform in our composition. We also have the curve editor, where we can control the transition between key frames.
- Properties: Here we will configure our project and the various operations on our composition.
We will start by setting up our project with the following properties:
- Output Format: HD 1920×1080
- Frame Rate: The frame rate of our stream. We will use 60fps in this example.
- Frame Range: We will use last as twice the frame rate number, considering that our transition won’t be longer than two seconds. In this example, that would be 120.
We will start by adding a solid rectangle. With the Viewer selected, press Tab to pick the Rectangle node.
On Color 1 property, press 4 so we are able to modify color channels independently and set r, g and b values to 0.25 and a value to 1.0.
With the Rectangle node selected, press T to insert a Transformation node, which will be the base for our animation.
First, set the Center x property to 0.0, so the rotation we will define would be based on the left side of the rectangle. Then, let’s move the rectangle to the left by setting Translate x to -746.0. We will also rotate the rectangle so it is just outside the frame by setting Rotate to 72.0 and create a key frame by right clicking and choosing Set Key, which will turn the property we want to animate blue.
Now, let’s go forward a few frames on the viewer timeline, for example to frame 111 and let’s change the angle on Rotate to -72.0. This will get us a very basic animation, that we can see by pressing the play button (▶) on the viewer. Now we can see that our rectangle doesn’t fully cover the frame, so we set the width of it (Size w) to 2920.
To give our animation a more natural feel, we will use the curve editor to accelerate the beginning and slow down the end. In the Curve Editor tab, we see a graph with all the properties with key frames. We can zoom in or out with Ctrl +Wheel and drag the graph by keeping Wheel pressed. Select both key frames and press H to generate a curve that starts and ends horizontally.
With the Transform node selected, press M to insert a Merge node, which will allow us to have several layers on our animation.
{{ figure(src=“img/natron_transicion_merge.png”, webp=true“) }}
Select the Rectangle and Transform nodes and press Ctrl +C and Ctrl +V to duplicate them. To keep our stuff organized, let’s rename them to Rectangle2 and Tranform2. Now, select the Merge node and connect the A2 input to the Transform2 node by dragging the A2 arrow to the center of Transform2.
Let’s change the color of Rectangle2 by setting r,g and b to 0.5.
Right now, our two rectangles will perfectly overlap, so we will desync their animations to get the effect we are looking for. To do that, go to the Dope Sheet tab, where we can see the key frames. We can move them by dragging the blue markers on the timeline. In our case, we will move the first key frame of Transform2 to frame 4 and the second one to frame 114.
Now we can see our animation shaping up by playing our project.
Now, let’s get back to the Node Graph to duplicate Rectangle2 and Transform2 nodes. As before, we will rename the copies to Rectangle3 and Transform3. Select Merge node again and connect A3 input to Transform3 node.
Change the color of Rectangle3 by setting r, g y b to 0.75. Also, move Transform3 key frames to frames 7 and 117.
Let’s make our last copies of Rectangle and Transform nodes, which we will rename as Rectangle4 and Merge4. This time, instead of directly connecting the Transform4 node with the Merge node, we will create a second Merge node, by selecting Tranform4 and pressing M . We will connect this new Merge node with Merge1 on A4 input.
On Rectangle4, set the r, g and b color channels to 1. Also, move the Transform4 node key frames to frames 10 and 120, so they are 3 frames forward from Transform3 key frames.
Up to now, we have a very nice fan effect, but can we add our logo to this transition? First, let’s create and image with the same resolution as our project (1920x1080) in the software of our choice. In my case, I created a very simple background with Inkscape.
To insert it in our project, create a Read [Image] node by pressing Tab and searching in the list. Now, select the background in the file picker. In case we want to move our project files, it is better to change the Relative to setting from Absolute to [Project].
To connect the new Read node with the rest of our project, change the A input on Merge2 to Read and let’s reconnect tjhe Transform4 node to Merge2 using the Mask input. With thus, Rectangle4 will act as a window over our background.
We already have our transition working as expected, as we can see in the viewer.
The last step will be to add a Write node, so we can render our project. With the Merge1 node selected, press W and pick the output file name. Since we will be using transparency, we will use the .mov format.
In the Write node properties, make sure that FPS are set to 60 (the same value we chose when creating our project) and turn the Alpha checkbox on.
Finally, press the Render button to generate our transition.
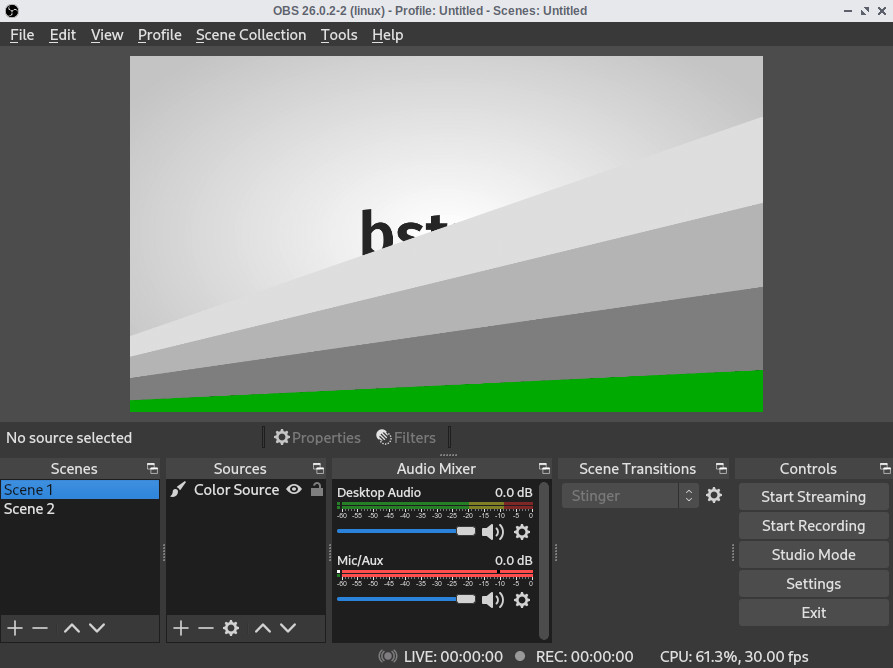
Using the transition in OBS
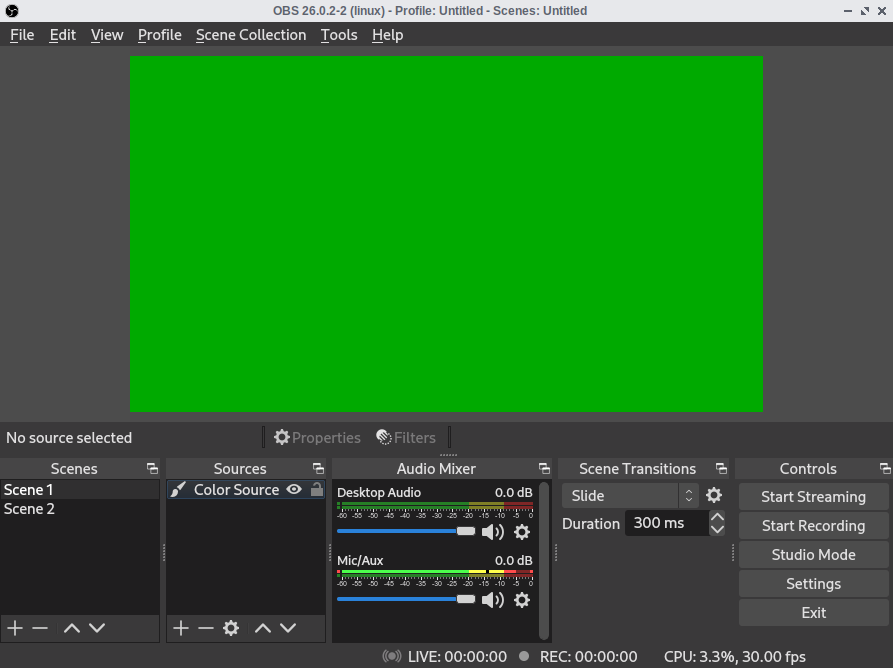
To use our new and shiny transition, click the add button in the transitions section and select Stinger. Choose the video generated on Natron and pick a transition point so that the entire frame is covered. We can use the preview button to make sure that we chose a correct transition point.

And voilà, we built up our Stinger from scratch. If you want to have a starting point to follow this guide or you learn by tinkering around on existing stuff, you can download the project files for this guide from here.